Composting at home is an excellent way to reduce kitchen and garden waste while creating a natural fertilizer for your plants. If you’re new to composting, it might seem complicated at first, but with a few simple tips, you can get started right away. This guide will walk you through the basics and help you build a successful compost pile or bin that fits your lifestyle.
Why Compost at Home?
Composting transforms organic waste into nutrient-rich humus that improves soil health and supports plant growth. Besides benefiting your garden, composting:
– Reduces landfill waste and methane emissions
– Saves money on fertilizers and soil conditioners
– Promotes sustainable living by recycling resources
Getting Started: Choose Your Composting Method
1. Select the Right Compost Bin or Area
You can compost in many ways, depending on space and available resources:
– Compost Bin: Compact and tidy, perfect for small yards or patios.
– Compost Pile: A simple heap in your backyard, suited for larger spaces.
– Worm Composting (Vermicomposting): Using worms to break down food scraps, ideal for indoors or small-scale composting.
Choose what suits you best, considering your garden size, climate, and how much waste you generate.
2. Pick a Good Location
Place your compost bin or pile in a spot with:
– Good drainage
– Partial sunlight for warmth
– Easy access for adding materials and turning the compost
What to Compost: Understanding Greens and Browns
Successful composting requires balancing two types of materials:
– Greens: High in nitrogen, these include fruit and vegetable scraps, coffee grounds, grass clippings, and fresh garden trimmings.
– Browns: High in carbon, these include dry leaves, straw, cardboard, paper, and small branches.
Aim for a ratio of about 3 parts browns to 1 part greens. This balance helps microorganisms break down the waste efficiently and prevents odors.
What Not to Compost
Avoid adding certain materials that can attract pests, cause odors, or introduce harmful substances:
– Meat, dairy, and oily foods
– Diseased plants or weeds with seeds
– Pet waste
– Treated wood or glossy paper
How to Build Your Compost Pile
Step 1: Start with a Layer of Browns
Begin with a 4-6 inch layer of coarse brown materials like twigs or straw to allow airflow at the base.
Step 2: Add Greens and Browns in Layers
Alternate thin layers of greens and browns. Avoid big clumps; chop or shred large items to speed up decomposition.
Step 3: Keep It Moist
Your compost should feel like a damp sponge—not too wet or dry. Water it occasionally, especially in dry weather.
Step 4: Turn Your Compost Regularly
Aerating the pile by turning it every 1-2 weeks introduces oxygen, accelerating the breakdown process and reducing smell.
Tips for Success
– Be patient: Composting can take a few months to a year depending on conditions.
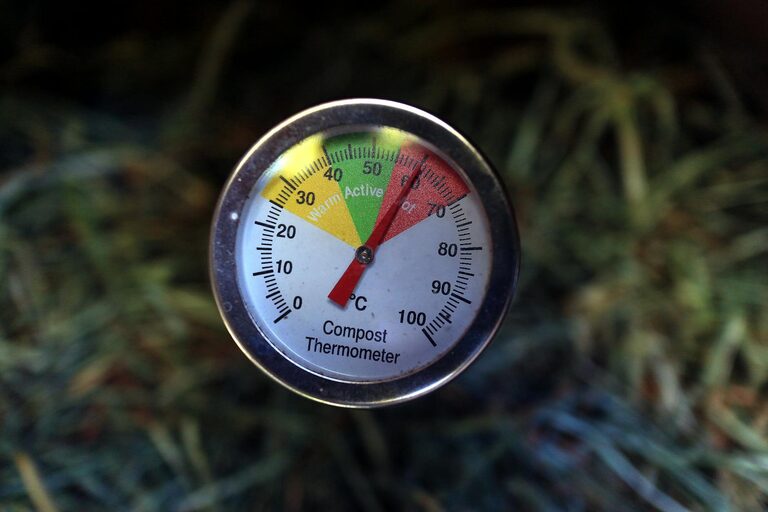
– Monitor temperature: A hot pile (130-160°F) breaks down material faster; use a compost thermometer if you like.
– Add soil or finished compost: This introduces helpful microbes.
– Avoid compacting: Keep materials loose to allow airflow.
Troubleshooting Common Problems
– Bad odors: Usually from too many greens or lack of oxygen. Add more browns and turn the pile.
– Slow decomposition: May need more moisture, greens, or turning.
– Pests: Secure your bin and avoid adding meat or oily foods.
Using Your Finished Compost
When your compost looks dark, crumbly, and smells earthy, it’s ready to use. Apply it to garden beds, mix into potting soil, or use as mulch around plants to improve growth and soil structure.
—
Composting at home is a rewarding way to contribute to a healthier environment and grow happier gardens. With these beginner tips, you’ll be on your way to turning waste into nourishment for your plants, one compost pile at a time. Happy composting!